6.2 Configuring OpenID Connect
You can use any OpenID Connect server as an external identity provider for MyID.
Note: If you are using Google, you can use a streamlined configuration process; see section 6.3, Configuring other types of identity provider.
6.2.1 Configuring OpenID Connect as an external identity provider
You must configure your OpenID Connect system to allow the MyID web.oauth2 service to connect to it. The specific instructions for each system are different; see your server's documentation for details.
This section provides general principles for configuring an OpenID Connect system.
You must configure the following in your OpenID Connect system:
-
Redirect URIs
Add the redirect URI for your web.oauth2 server. This is in the format:
https://<server>/web.oauth2/<identifier>
Where:
-
<server> is the address of your MyID web server.
-
<identifier> is an identifier for the external identity provider.
Make sure the <identifier> corresponds to the CallbackPath value you set up for the web.oauth2 server (see section 6.2.3, Configuring the web.oauth2 server for OpenID Connect).
For example:
https://myid.mydomain.com/web.oauth2/loginOidc121
-
-
Client secrets
Create a client secret in your OpenID Connect system. You must take a note of this client secret when you create it.
-
Client ID
Take a note of the client ID. You need this when configuring the web.oauth2 server.
-
Configuration endpoint
Find the URL that hosts the OpenID Connect configuration well-known endpoint.
This is often of the form https://<host>/<id>/v2.0/.well-known/openid-configuration.
You need this when configuring the web.oauth2 server.
6.2.2 Encrypting the client secret
Because you are going to store the client secret in a configuration text file on the server, you must encrypt it for security purposes. MyID supports DPAPI for encrypting the client secret; this uses the logged-on Windows user (in this case, the MyID web service user) to encrypt the secret, and only the same Windows user can decrypt the secret.
To encrypt the client secret:
-
On the MyID web server, log on as the user under which the web.oauth2 service runs.
By default, this is the MyID Web Service user; you can confirm this by checking which user is configured for the myid.web.oauth2.pool application pool in IIS.
Note: It is important that you use this account to encrypt the secret, as no other accounts can decrypt the secret to use it.
-
Open a Windows PowerShell command prompt, and navigate to the web.oauth2 folder.
By default, this is:
C:\Program Files\Intercede\MyID\web.oauth2\
-
Run the following PowerShell script:
.\DPAPIEncrypt.ps1 <secret>
For example:
.\DPAPIEncrypt.ps1 b5989015-bb9e-4533-874b-2b4a6a8280ed
The script outputs an encrypted copy of the secret; for example:
PS C:\Program Files\Intercede\MyID\web.oauth2> .\DPAPIEncrypt.ps1 b5989015-bb9e-4533-874b-2b4a6a8280ed
AQAAANCMnd8BFdERjHoAwE/C [...] JwWwaKXWoS3i+ulxtmjVQyudpQ==
(Encrypted output string truncated for documentation purposes.)
-
Copy the encrypted secret.
6.2.3 Configuring the web.oauth2 server for OpenID Connect
-
In a text editor, open the appsettings.Production.json file for the web service.
By default, this is:
C:\Program Files\Intercede\MyID\web.oauth2\appsettings.Production.json
This file is the override configuration file for the appsettings.json file for the web service.
-
Add an entry to the ExternalProviders array.
If the ExternalProviders array does not exist, add it at the top level of the file. For reference, the appsettings.json file contains an empty ExternalProviders array that allows you to confirm its location.
Copy"ExternalProviders":[
{
"Name": "<name>",
"LogonMechanismId": <logon mechanism>,
"Action": "<action>",
"OpenIdConnectOptions": {
"ClientId": "<client ID>",
"ClientSecret": "<client secret>",
"Authority": "<authority URL>",
"ResponseType": "code",
"GetClaimsFromUserInfoEndpoint":true,
"Scope": [<scopes>],
"CallbackPath": "<callback path>",
"Prompt": "login"
},
"ClientSecretEncrypted":"<encrypted client secret>",
"Mappings":[
{}
]
}
]where:
-
<name> – the label used for the authentication method in the MyID Authentication dialog.
-
<logon mechanism> – the ID of the logon mechanism. MyID provides the following logon mechanism IDs that you can use for OpenID Connect systems:
-
121 – corresponds to External IDP 1.
-
122 – corresponds to External IDP 2.
-
123 – corresponds to External IDP 3.
-
-
<action> – one of the following actions:
-
Find – (default) the user must already exist in the MyID database; the claims from the external identity provider must identify a user already in the MyID database.
-
Create – if the user does not already exist in MyID, they are created. If the user does exist, that same user is used.
-
Update – the user must already exist in MyID. Mapped fields marked with Update:true are updated in MyID based on the value supplied by the external identity provider.
See section 6.4, Mapping attributes for details of setting the update options for mapped fields.
-
CreateAndUpdate – if the user does not already exist in MyID, they are created. If the user does exist, that same user is used and any fields marked with Update:true are updated.
-
-
<client ID> – the client ID from your OpenID Connect system configuration.
-
<client secret> – the client secret you created in your OpenID Connect system.
Important: For production systems, you are recommended not to include the client secret in the appsettings.production.json file, but to encrypt the client secret and use the ClientSecretEncrypted option instead.
-
<authority URL> – the URL that hosts the OpenID configuration well-known endpoint. For example, for Microsoft Entra, this is:
https://login.microsoftonline.com/<tenant id>/v2.0
-
<scopes> – an array of scopes that you want to obtain from the external identity provider.
For example:
"Scope": ["openid", "email", "profile", "user.read"],
Note: user.read is an Entra-specific scope that allows more user data to be returned.
-
<callback path> – the path to which the response is returned. This must correspond to the redirect URI you set up.
For example, set the callback path to:
/loginOidc121
If your server is myid.mydomain.com, the response is returned to:
https://myid.mydomain.com/web.oauth2/loginOidc121
-
<encrypted client secret> – the encrypted client secret. See section 6.2.2, Encrypting the client secret.
For example:
Copy"ExternalProviders":[
{
"Name":"OpenID Connect",
"LogonMechanismId":121,
"Action":"CreateAndUpdate",
"OpenIdConnectOptions":{
"ClientId":"bb61c9f6-9a71-42ba-a156-05db9a7a6407",
"ClientSecret":"",
"Authority":"https://login.microsoftonline.com/2fad39ef-cead-489d-a755-c3b45c762c4a/v2.0",
"ResponseType":"code",
"GetClaimsFromUserInfoEndpoint":true,
"Scope":[
"openid",
"email",
"profile",
"user.read"
],
"CallbackPath":"/loginOidc121",
"Prompt":"login"
},
"ClientSecretEncrypted":"AQAAANCMnd8BFdERjHoAwE/C [...] JwWwaKXWoS3i+ulxtmjVQyudpQ==",
"Mappings":[
{}
]
}
] -
For further information about the settings available in the OpenIdConnectOptions section, see the Microsoft documentation for the ASP.NET Core OpenIdConnectOptions class:
6.2.4 Mapping attributes
You can now map the attributes from the external identity provider to MyID attributes. See section 6.4, Mapping attributes.
Note: If you attempt to log on to the MyID Operator Client before you have configured the mappings, you may see an error similar to:
HTTP Error 500.30 - ASP.NET Core app failed to start
6.2.5 Configuring MyID to use OpenID Connect
Once you have set up your OpenID Connect server, and configured the web.oauth2 server (including the mappings), you can configure MyID to make OpenID Connect available as a logon mechanism.
To enable the OpenID Connect logon mechanism:
-
In the MyID Operator Client, from the More category, select Configuration Settings > Security Settings.
Alternatively, in MyID Desktop, from the Configuration category, select the Security Settings workflow.
-
Click the Logon Mechanisms tab.
-
Set one of the following options:
-
External IDP 1 – corresponds to logon mechanism ID 121.
-
External IDP 2 – corresponds to logon mechanism ID 122.
-
External IDP 3 – corresponds to logon mechanism ID 123.
Use the logon mechanism that corresponds to the ID you specified in the LogonMechanismId field in the configuration file.
-
-
Click Save changes.
To make the OpenID Connect logon mechanism available to users:
-
In the MyID Operator Client, from the More category, select Configuration Settings > Edit Roles.
Alternatively, in MyID Desktop, from the Configuration category, select the Edit Roles workflow.
-
Click Logon Methods.
-
In the Logon Mechanisms dialog, select the appropriate External IDP logon mechanism for each role you want to be able to log on using your OpenID Connect system.
-
Click OK, then click Save Changes.
See also section 6.7, Example OpenID Connect settings for a sample set of mappings for OpenID Connect.
Note: The MyID self-service applications require additional configuration. See section 6.5, Using external identity providers for the self-service applications.
6.2.6 Customizing the external logon mechanism label in the self-service applications
By default, the MyID self-service applications display the following labels for the external logon mechanisms:
-
Sign in with External IDP 1
-
Sign in with External IDP 2
-
Sign in with External IDP 3
If you want to change these labels, you must use the translation system.
The labels are stored in the master.csv file for the MyIDDataSource and MyIDDataSource web services:
Authentication,Authentication,IdpAuth,Button,Label,,0,EN-US,70001210,Sign in with External IDP 1,
Authentication,Authentication,IdpAuth,Button,Label,,0,EN-US,70001220,Sign in with External IDP 2,
Authentication,Authentication,IdpAuth,Button,Label,,0,EN-US,70001230,Sign in with External IDP 3,
For information about translating the MyID user interface, see the Translation for Web Services guide; for details of obtaining the translation toolkit, contact customer support quoting reference SUP-138.
You can also customize the icon used for the external logon mechanisms; to do so, you must edit the XML in the ClientXML field in the LogonProviders table in the MyID database.
Important: Back up your database before making any changes. Contact Intercede customer support if you require any assistance with updating the database.
For example:
update LogonProviders set ClientXML = '<ImageUrl>upimages/mylogo.png</ImageUrl>' where Name = 'External IDP 1'You are recommended to use an image in PNG format, 21 x 21 pixels in size. You must copy the image (in this example, mylogo.png) to the upimages folder on the MyID web server; by default, this is:
C:\Program Files\Intercede\MyID\Web\WebENT\upimages
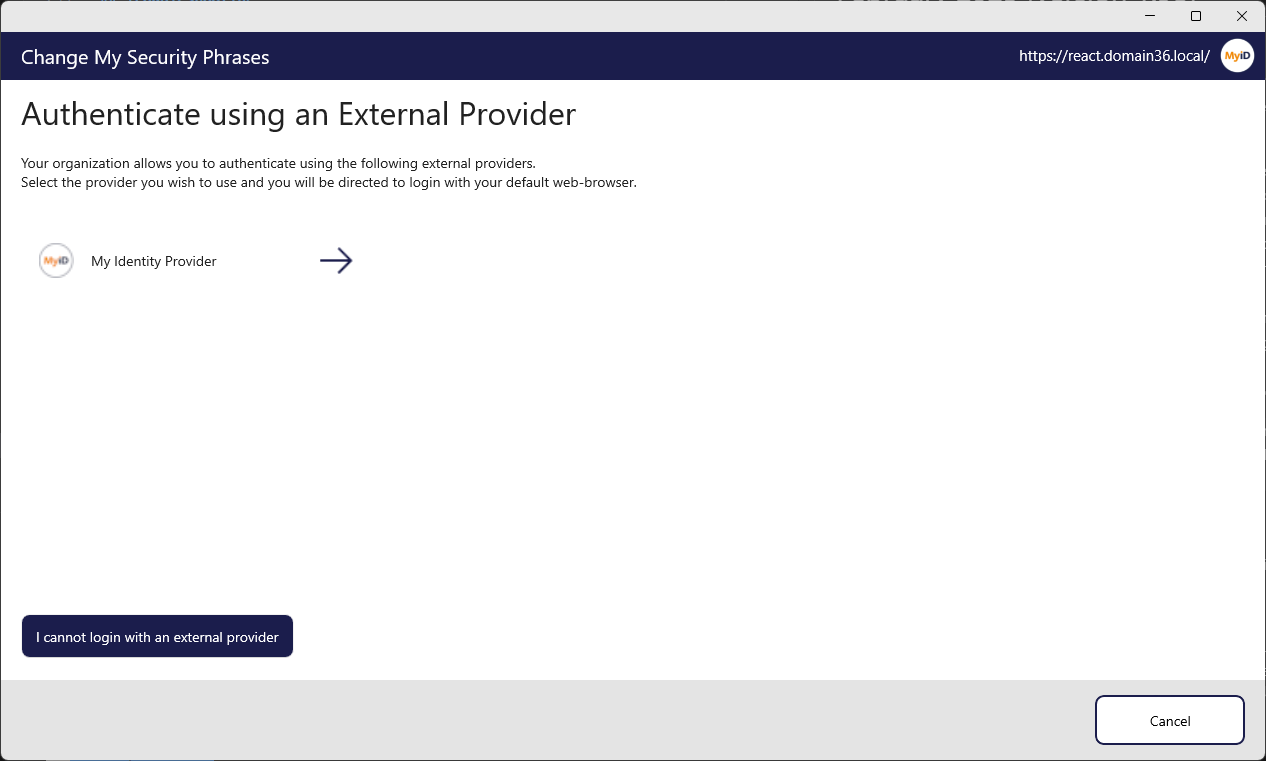
For example, in the MyID Client for Windows: